Push Button Breakout Board
$3.98


Description
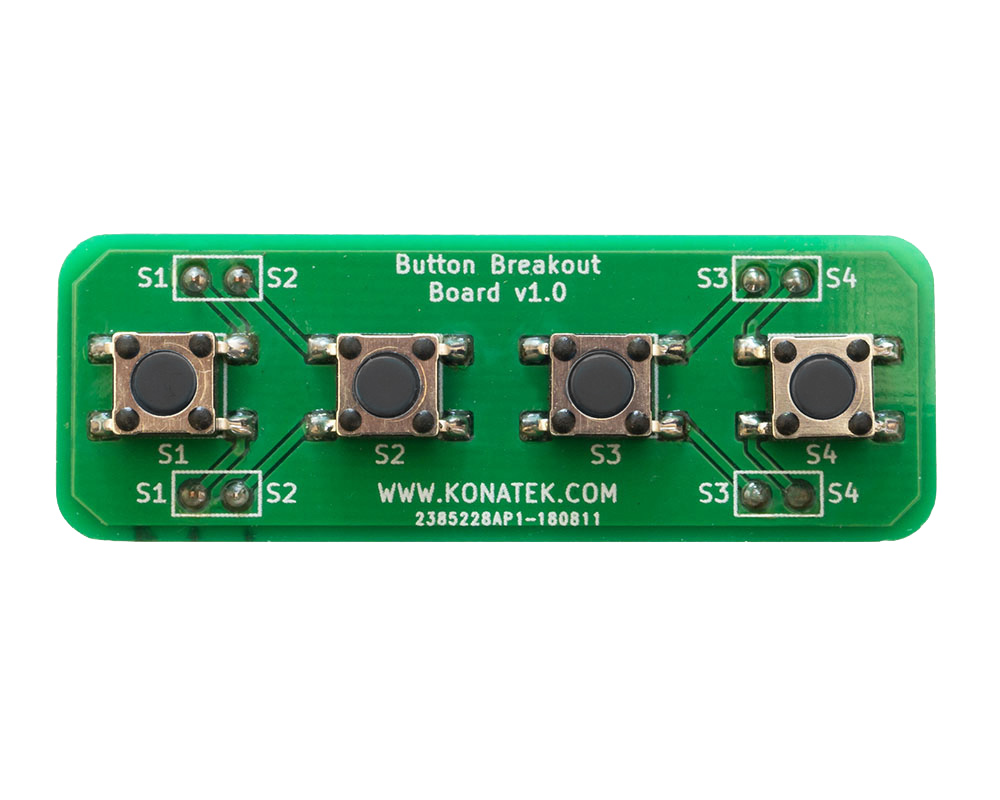
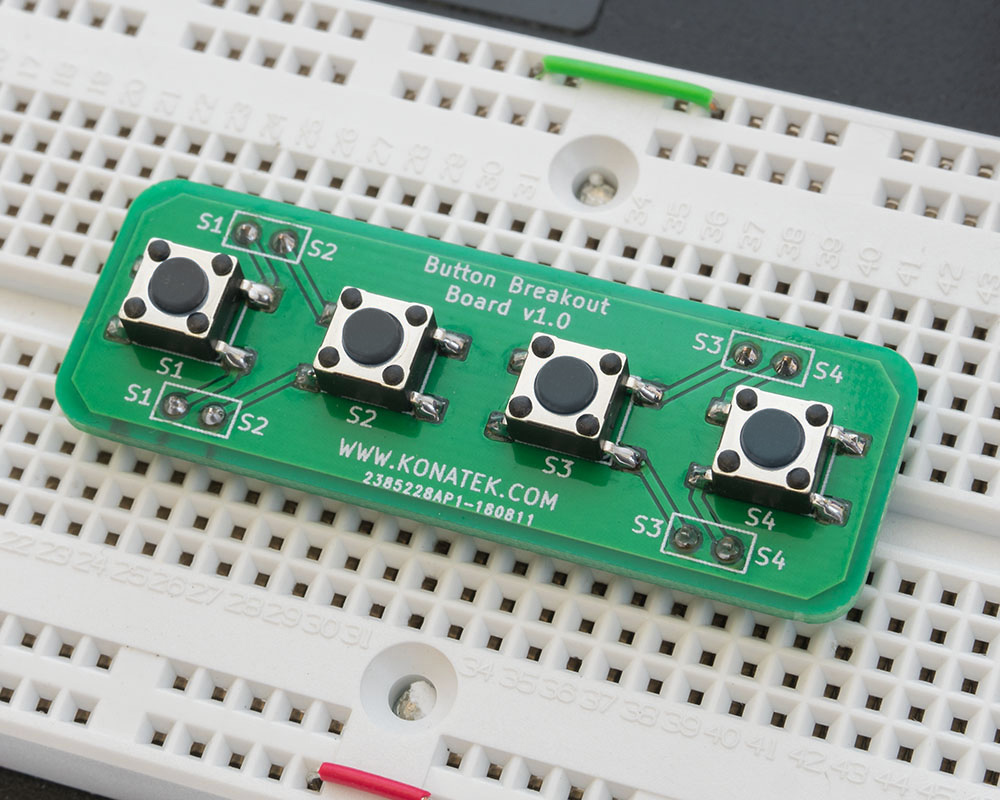
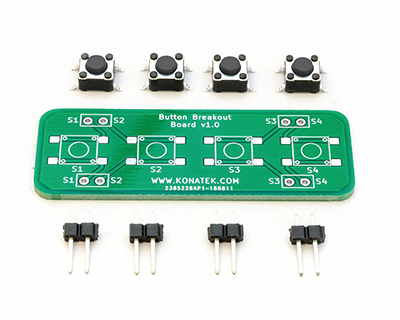
This clever and clean push button breakout board comes as a kit and provides an easy way to add 4 tactile switches to any breadboard project. The normally open momentarily closed switches are great for managing a microcontroller's general-purpose input/output (GPIO) pins. Each switch is independent of the others allowing some switches to be used to pull some GPIO pins low, while other switches can be used to pull some GPIO pins high.
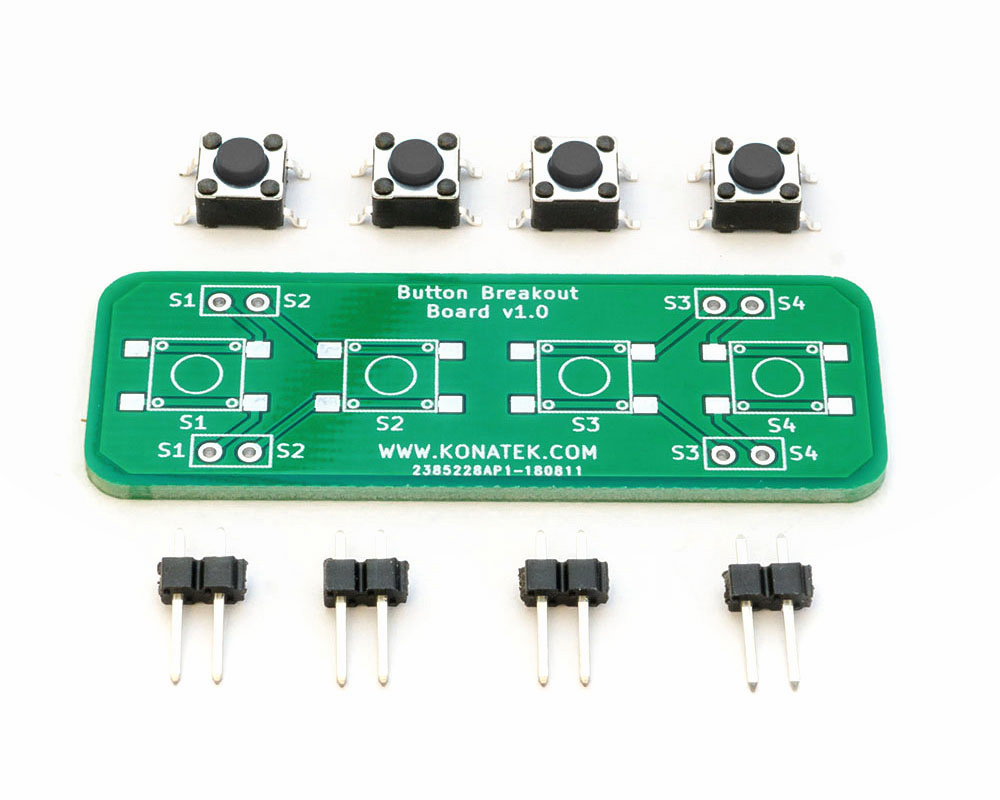
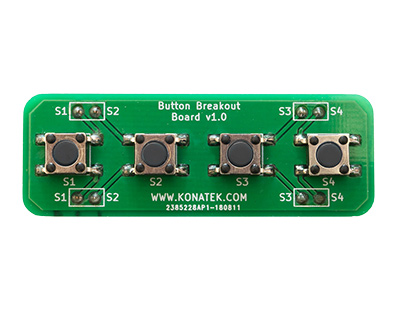
- Includes 1 PCB
- Includes 4 normally open momentary push button tactile switches
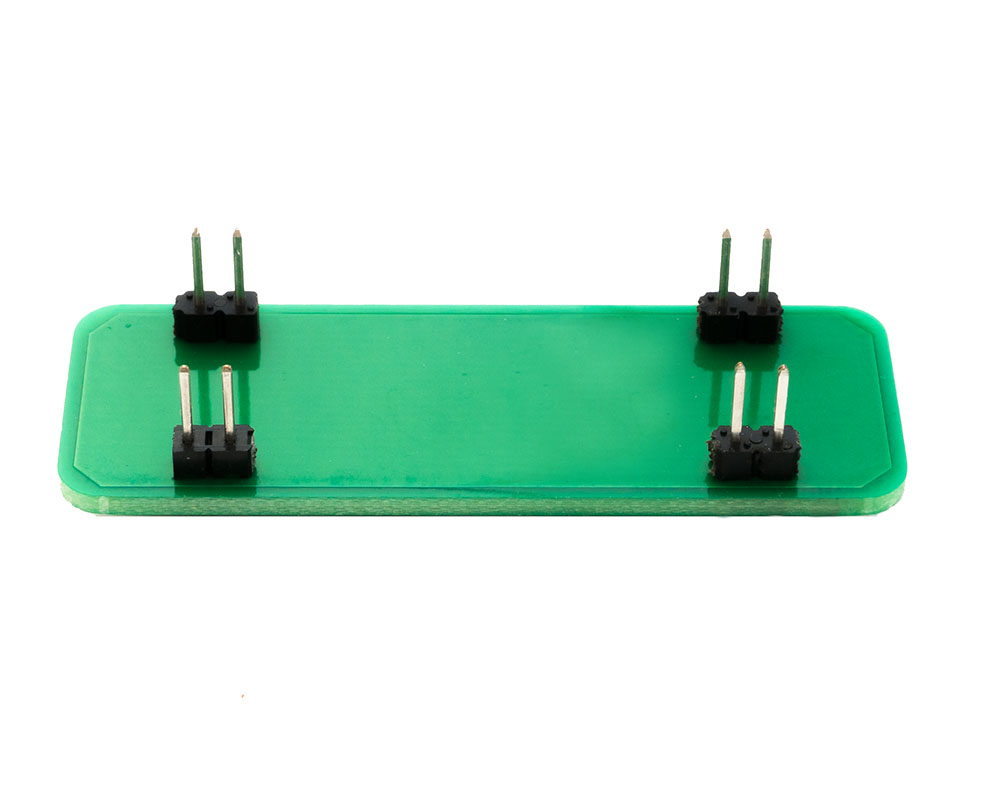
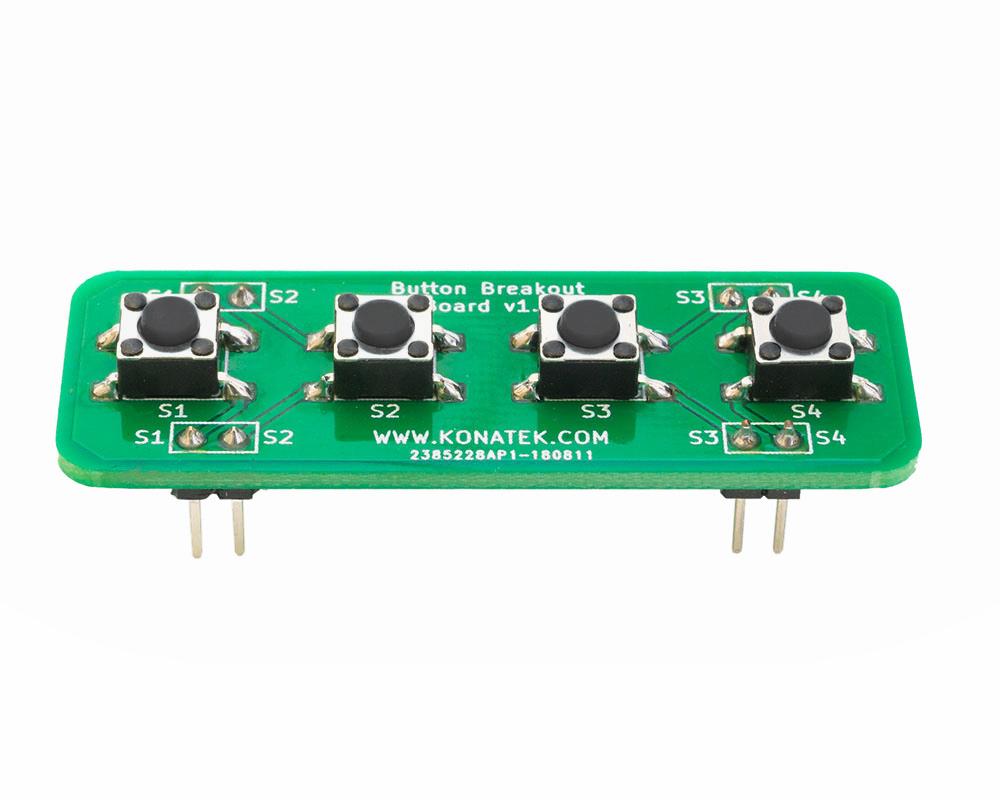
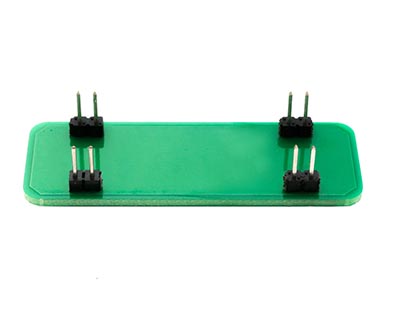
- Includes 4 through hole, 2 position connector headers 0.100" (2.54 mm) pin pitch
- PCB Dimensions: 2.0 x 0.72 in. (52 x 18 mm)
- Works with 0.100" (2.54 mm) pin pitch breadboards
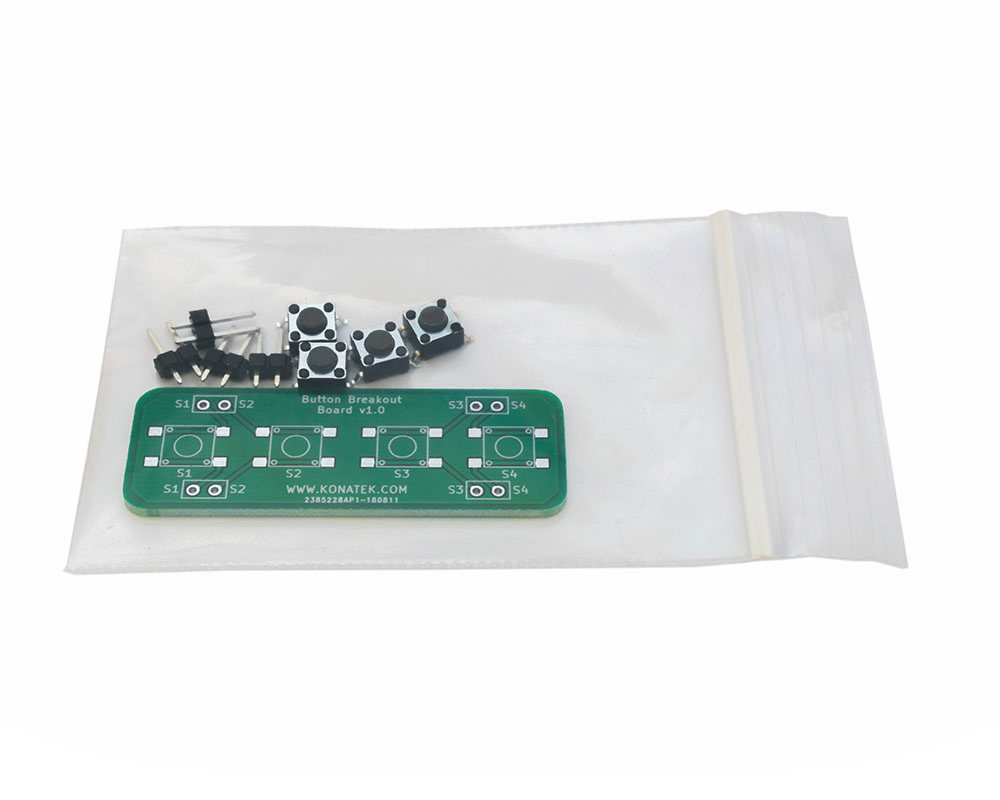
- Please note that this is a kit and requires some soldering and assembly
Specifications
- Function: Momentary action
- Contact Arrangement: SPST, N.O. (normally open)
- Actuation Force: 160 grams
- Life Expectancy: 100,000 operations
- Contact Rating: 50 mA @ 12 V DC.
- Dielectric Strength: 250 V AC min.
- Contact Resistance: 100 mΩ max. initial.
- Insulation Resistance: 10 11 Ω min.
- Operating Temperature: -20˚C to 60˚C
Soldering Tips
The following steps will help make soldering and assembly go smoothly.
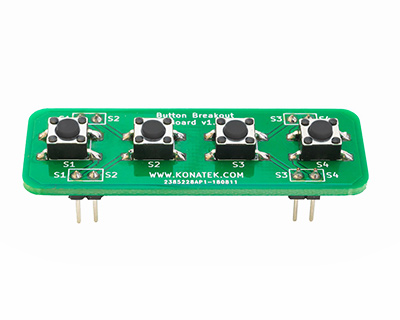
- First, place all of the pin headers into a breadboard with the correct spacing to ensure the tops line up with the PCB holes.
- Place the PCB into position on top of the pin headers and solder them in place, soldering opposing pins first to keep things lined up.
- Before placing the switches on the PCB, tin one pad of each of the switch footprints on the PCB (upper right for example).
- Place the first switch and reflow the previously tinned pad ensuring its lined up. Repeat for the other switches.
- Finally, go back and finish soldering all of the pads of the remaining switches.